I have been making granola for years. There are many reasons why I make so much of my own food. Of course, it’s satisfying, but I can also control ingredients to appease my food allergies and in the end, it winds up being much more affordable than prepackaged food. Therefore, I can afford to eat higher quality food, feel better about what I eat and also reduce the amount of garbage that I contribute to our ever growing landfills. I buy in bulk and keep a well stocked pantry which ultimately gives me flexibility in what I can make on any given day and it also allows me to be creative in what ingredients I use which frees me up from having to have specific ingredients for any given recipe. You will notice that my recipes are often free form and I hope that you will find the same freedom in using them that I do.
This recipe is loosely based on one I learned many years ago and I think it safe to say that I never make the exact same batch of granola twice. Expect to get anywhere from 12-16 cups of granola depending the variety of ingredients you use. I will explain variation in quantities as I go.
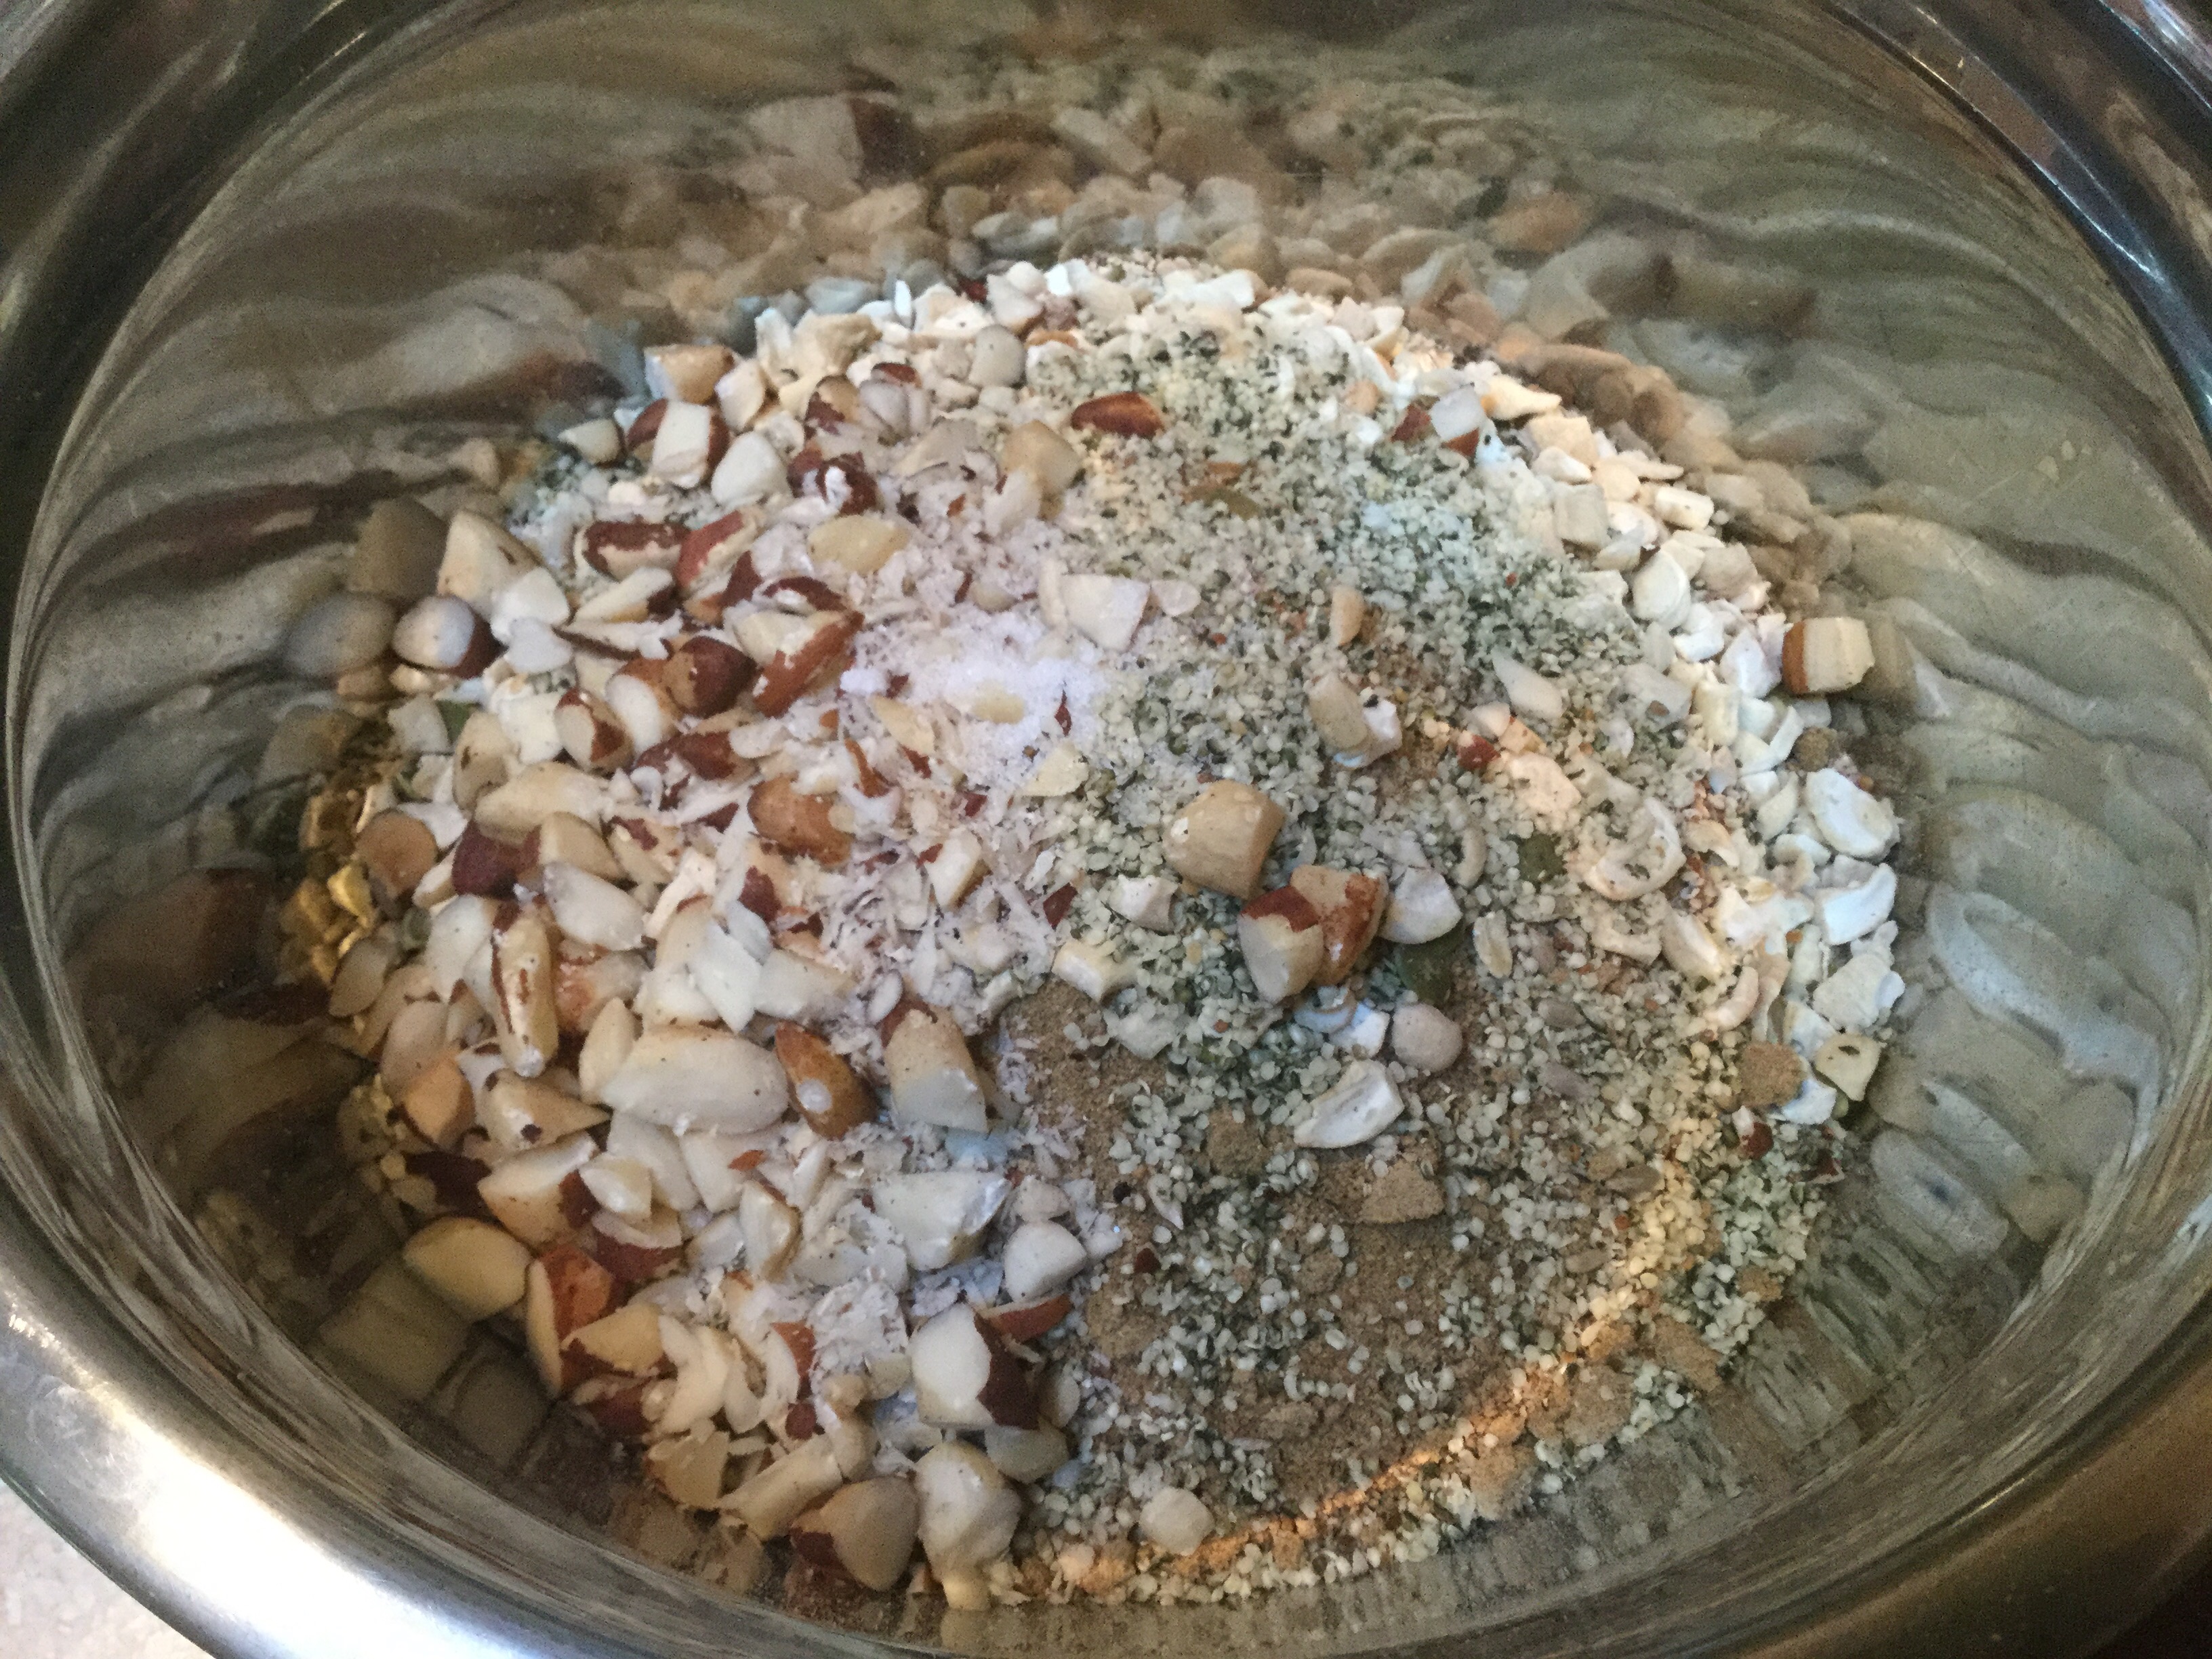
Mix dry ingredients in a bowl:
8 – 10 cups oats (use 8 as a base and up to 10 if other ingredients are limited)
Plus 4 total cups (more or less) of the following:
Seeds – pumpkin, sesame, chia, flax, hemp – I generally use about 3/4 – 1 c total of any of these
Nuts – almonds, cashew pieces, walnuts, Brazil nuts (my fave and great for your health) or any other nuts you love. I used about a cup or so. Sometimes more, sometimes less. If you want them chopped, chop them. If not, don’t.
Pick one of the following and add: 1/4 c. ground flax seed (I have a dedicated coffee grinder that I use for everything but coffee that I use to grind them) or 1/2 cup almond meal. These ingredients act as a binder in the granola. Sometimes I use both. If you have something else that you want to use, by all means try it. If you use some sort of flour, I’d only use a few tablespoons. Before I got celiac disease, I used wheat germ and have found these ingredients to be a good substitute.
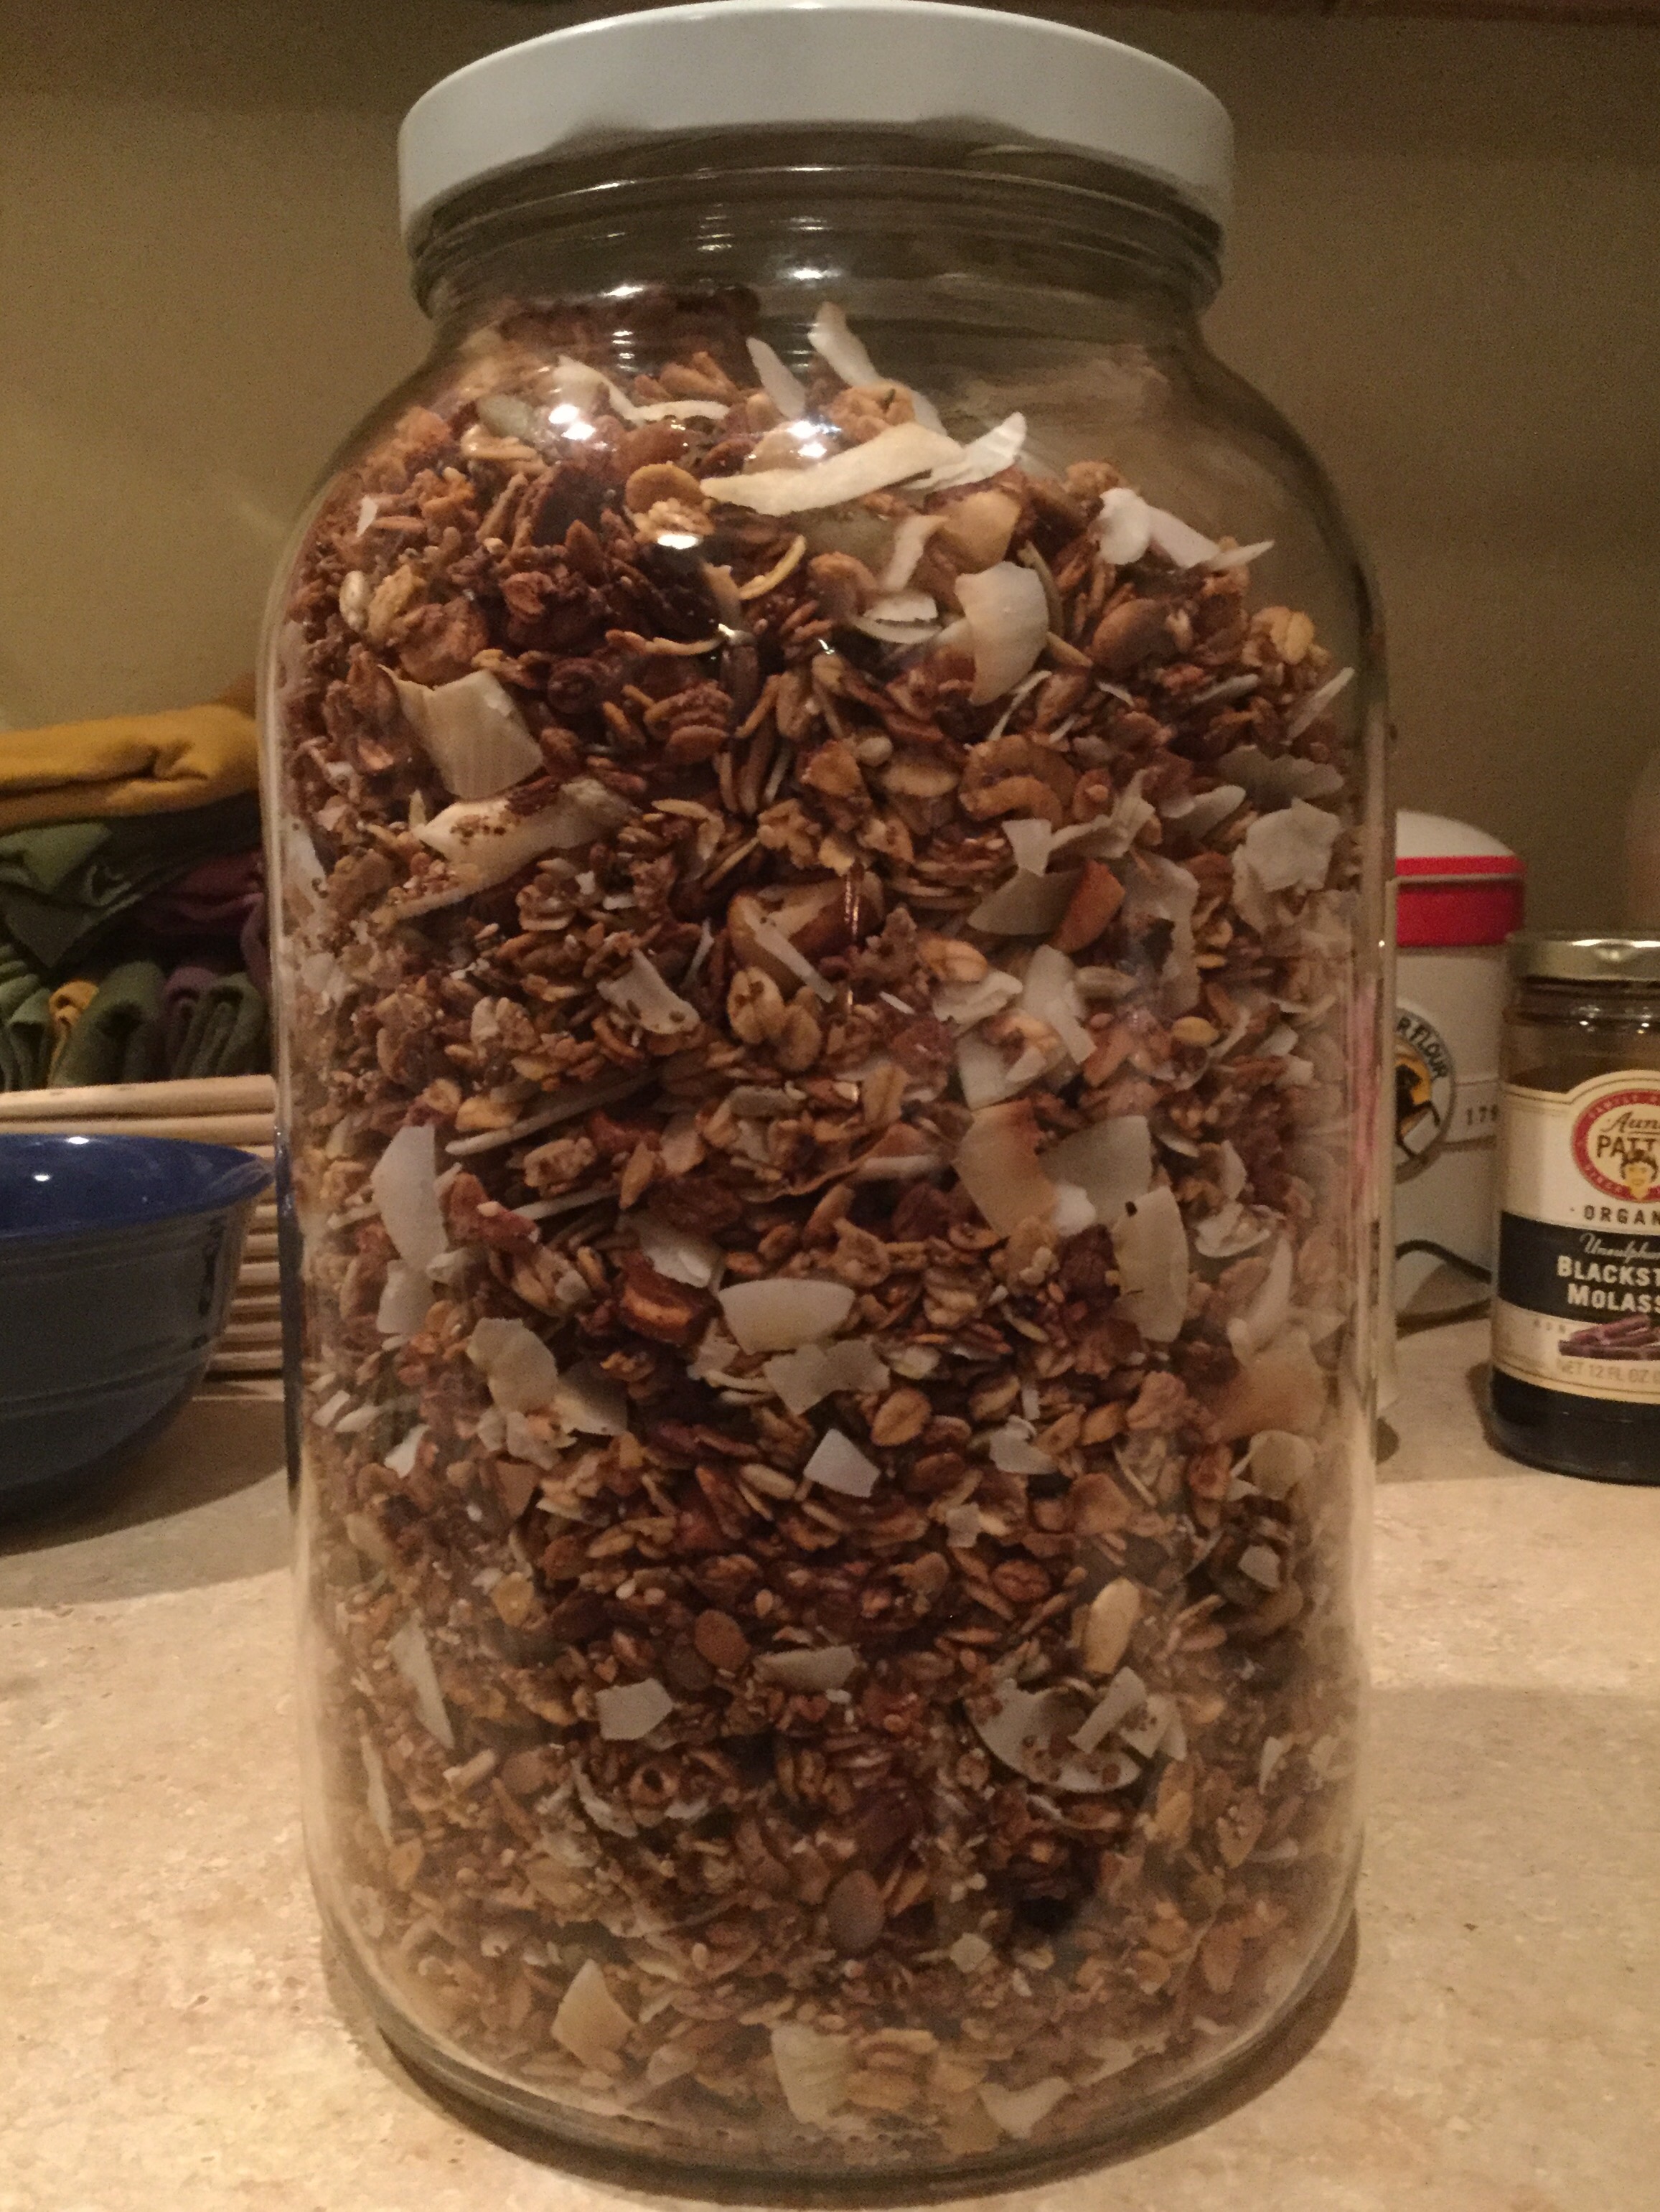
Dried coconut: I love adding coconut, but do so during the baking. I prefer the way it comes out when added about halfway through the baking. I use about two cups total. Always unsweetened.
Dried fruit: if you’d like to use dried fruit like raisins, dates, dried apples or any other, I highly recommend adding it after you bake it or to your bowl before eating. I find that even mixing it with the finish product and then storing it tends to suck the life out of the dried fruit and it’s not as enjoyable as when I add it just before eating, but I might just be picky. 🙂
Also add without fail nor variation:
1/2 c. sugar (dried cane juice, coconut sugar or raw sugar)
1 tsp salt
1 tsp cinnamon
Stir all of your dry ingredients together and then, prepare the wet ingredients.
Wet ingredients:
Combine in a measuring cup:
1/3 c. fat – I use butter and coconut oil. I prefer the mixture of the two to just coconut oil, but using straight butter is fine too. The fat is important, so don’t skimp here. Even add a little extra if you’d like.
1/2 c. honey and/or maple syrup – do not lessen this amount.
Fill your measuring cup with enough milk (or other liquid) to make about 1 3/4 – 2 total cups of liquid. If your batch is smaller, use less and if it’s large use the two total cups.
Bring these ingredients to a simmer in a small pot.

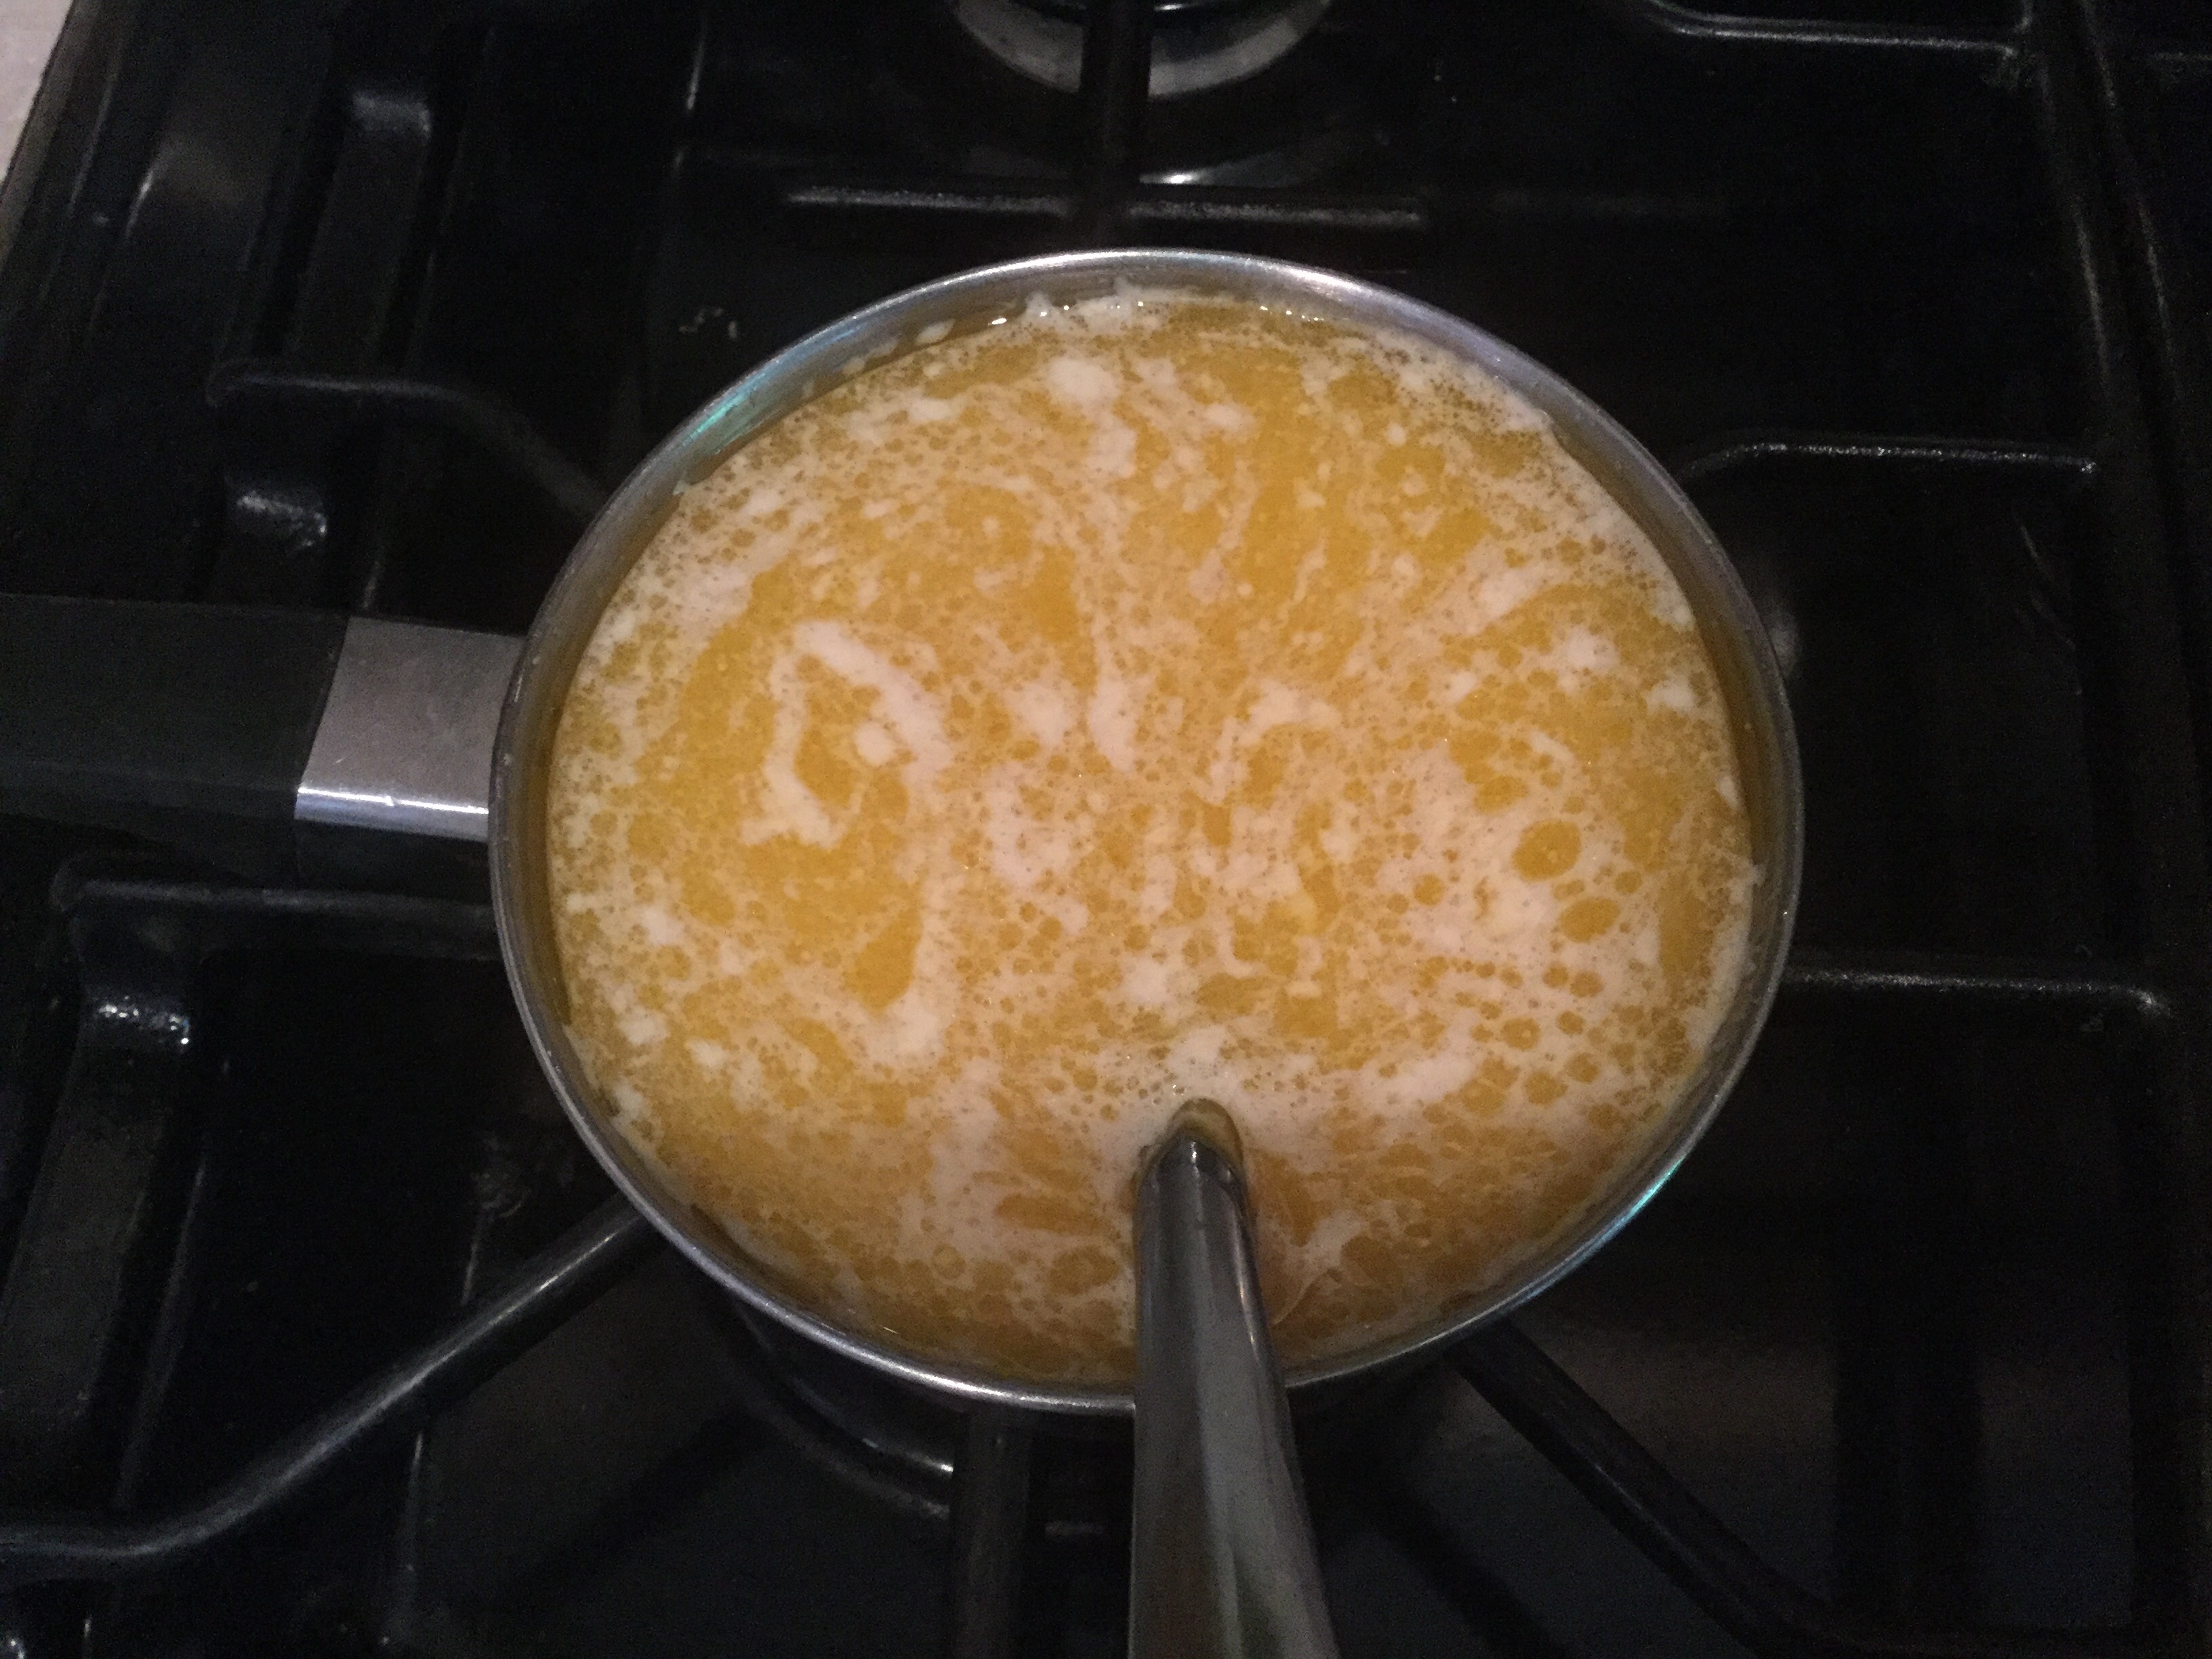
Once warm and everything is melted, remove from heat and add 1 tsp vanilla.
Pour over your dry ingredients and keep stirring until well blended. Your mixture will be moist to wet, but not sopping. If your mixture is quite wet, you can add a couple handfuls of oats to help soak up the liquids.
Pour out on two cookie sheets. I like to use parchment paper when I make this as it seems to make the process of cooking and final removal easier, but it’s not necessary if you don’t have it on hand.

Bake at 325 degrees for 30-40 minutes, stirring every 5-10 minutes. You will find that you need to stir more frequently as times goes on. If you’d like to add coconut, do so about 15-20 min in… Just sprinkle it on top of each sheet. I use about 1 cup per sheet.
Bake until golden brown with good color. Let cool completely before jarring.
This granola will last for months in glass jars with a tight lid.
I will leave you with this… Do not let the variations of the recipe scare you. I have had varying results, but never bad results and as you perfect your recipe to your liking – more sweet, less sweet, baked more or less, a touch more vanilla or salt, fewer nuts or less seeds – your technique will get better and you will get a better understanding of proportions and how they work with one another.

Have Fun and Enjoy!

Pingback: She’s Back – Still Life With Dharma